Lost my O-ring – it just dropped off – and now Bivo no longer sell a spare which is very disappointing
July 11th, 2024 | by Keaton Smith
All of us at Bivo care a lot about design and performance. We want our bottles to look sleek, feel great in your hands, and perform really well.
One element of our insulated water bottles (Bivo Trio and Bivo Trio Mini) that is essential to performance, but doesn’t impact the look of the bottles, is the o-ring.
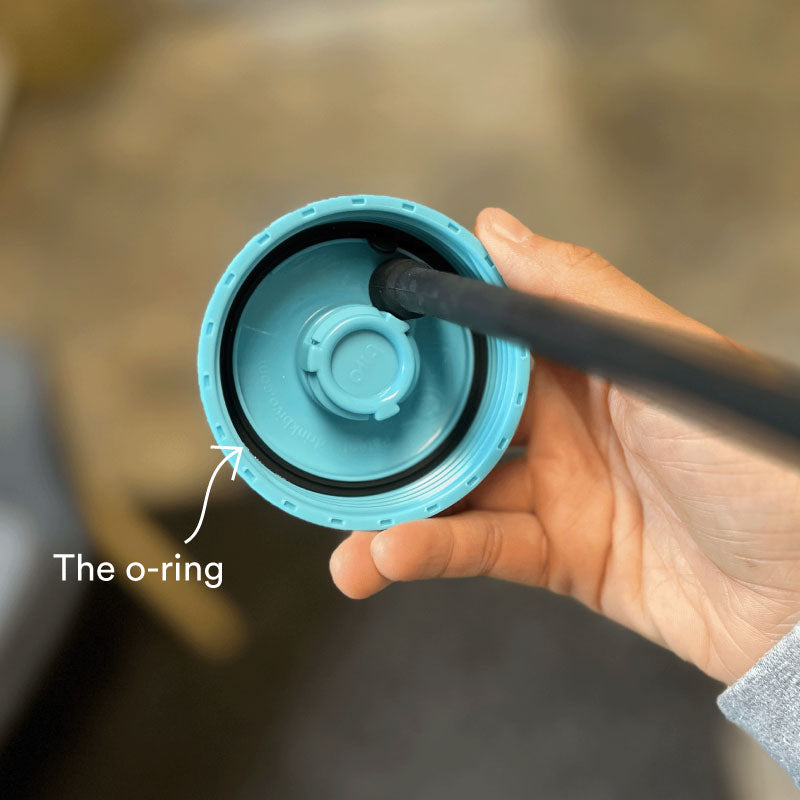
On insulated bottles - the Bivo Trio and Trio Mini - the o-ring is tucked under the top of the lid, nestled in snugly above the threading. Hidden, but playing an essential role.
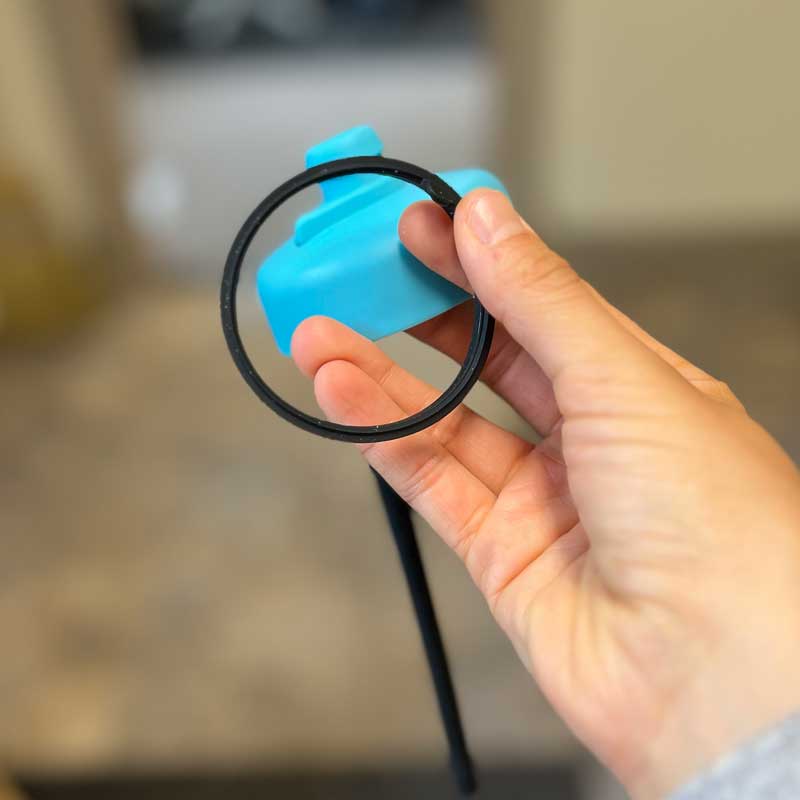
The o-ring, or sealing ring, is a silicone circle, responsible for sealing the bottle tight and preventing leaking.
As you twist the lid on tight, the sealing ring is compressed, squeezing out any possible escape of water from the bottle. When properly in place, the sealing ring does its job very well– we made sure of that with a rigorous design and testing process.
We designed the o-ring to be super easy to clean. (Who likes drinking mold? Definitely not us!) So, we made the venting straw, the nozzle and the o-ring all easily removable and dishwasher safe.
So here is your step-by-step guide on removing and reinstalling your o-ring for easy cleaning!
P.S. For our full water bottle cleaning tutorial, check out our cleaning blog here!
Lost your o-ring and need a replacement? Head right here!
P.S. For our full water bottle cleaning tutorial, check out our cleaning blog here!
Lost your o-ring and need a replacement? Head right here!
Today’s Quench’d story is about a one-man stage play that tells the story of Australian Tour de France-winning cyclist Cadel Evans. Art and Sport don't always intersect but when they do it can be magical!
With so many different options out there, finding the perfect bottle can be hard. But it doesn't have to be! We've created a comprehensive guide to help you pick the perfect Bivo just for you!
Today in our Quench’d series, we are hearing a story from SMS Nordic coach Alex Jospe, a recent recipient of the National Nordic Foundation's Trail to Gold Fellowship. The fellowship is awarded to talented women ski coaches across the US, and gives them an immersive trip into all aspects of World Cup coaching and ski waxing. Read about Alex's life changing trip!


Keaton Smith
October 30, 2025
Hi Mark! Sorry you lost your o-ring! We do sell spare o-rings for $1 and free shipping :)! Head right here: https://drinkbivo.com/collections/all/products/sealing-ring
Thanks so much!
Keaton