


April 9th, 2026 | By Charlotte Ogden
If you’ve found yourself here, you are probably looking for an activity to pass a rainy day (or a few…). You are also probably interested in hydration maxing, and have realized that nothing short of 7,200 oz of water would quench your thirst. Fortunately, with this one simple guide you can have a great way to spend a few crafty evenings and at the end you will have the ultimate hydration solution.
If you’ve found yourself here, you are probably looking for an activity to pass a rainy day (or a few…). You are also probably interested in hydration maxing, and have realized that nothing short of 7,200 oz of water would quench your thirst. Fortunately, with this one simple guide you can have a great way to spend a few crafty evenings and at the end you will have the ultimate hydration solution.
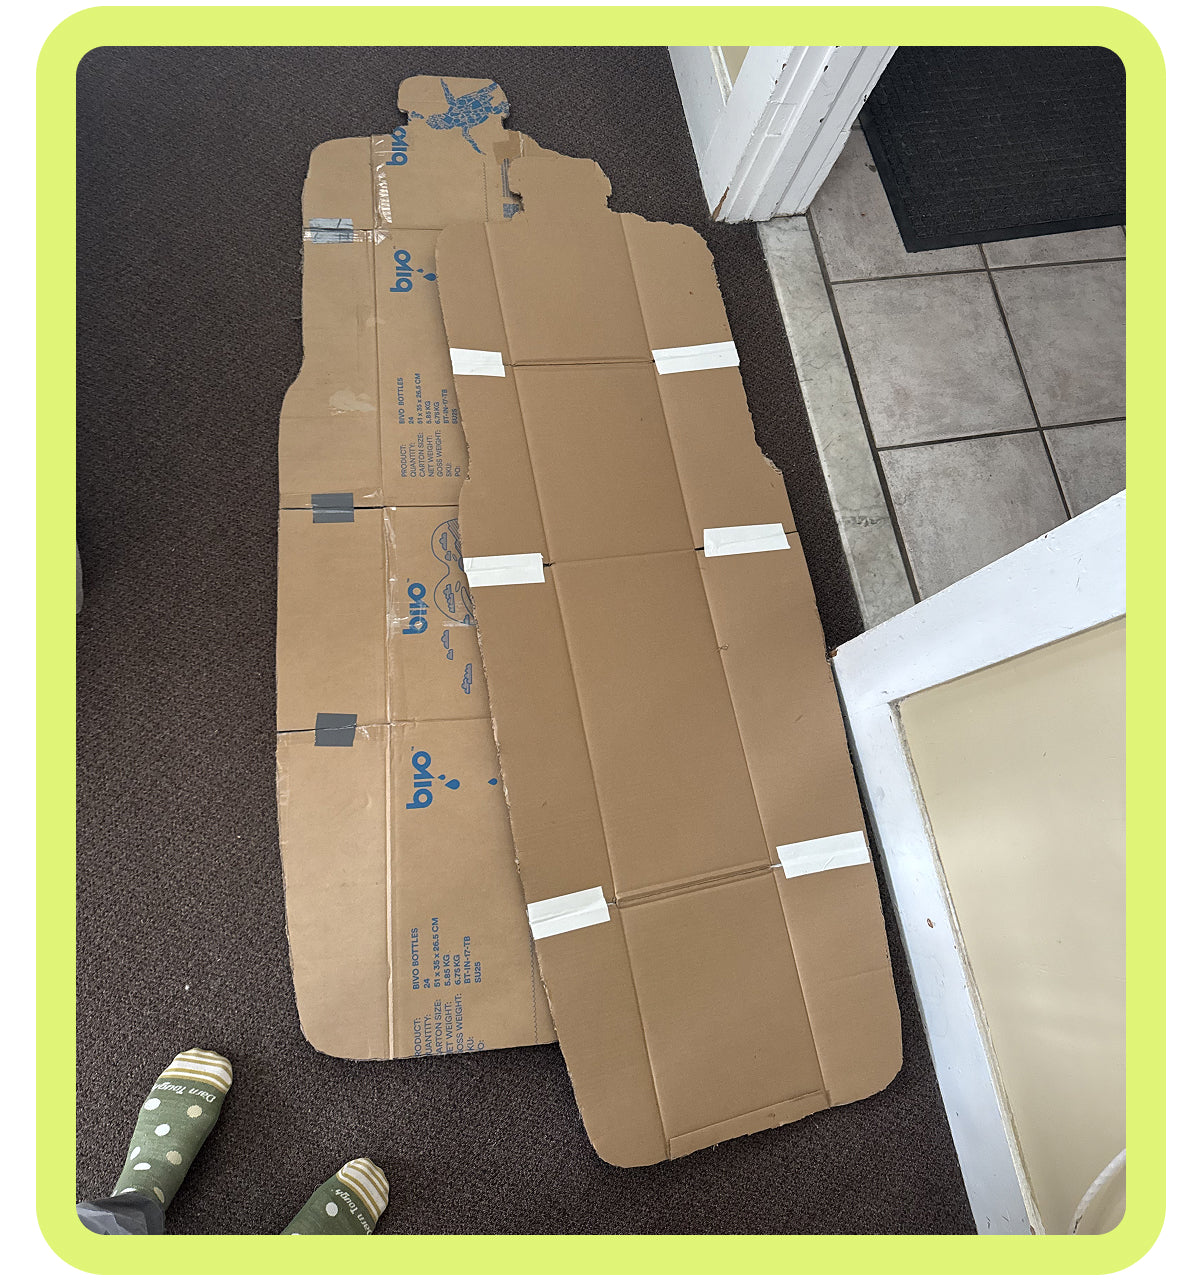


8. Cutout #1 - Cut one of the cardboard cutouts completely in half (the long way).
9. Cutout #2- Cut a slice from the middle of the bottom upwards that ends halfway up the bottle.
10. Cutout #3 - Cut a slice from the middle of the top downwards that ends halfway down the bottle.
11. Slide cutout #2 and #3 together to create a boxy Bivo (pictured above). Use the tape to keep all the pieces in place and secure.
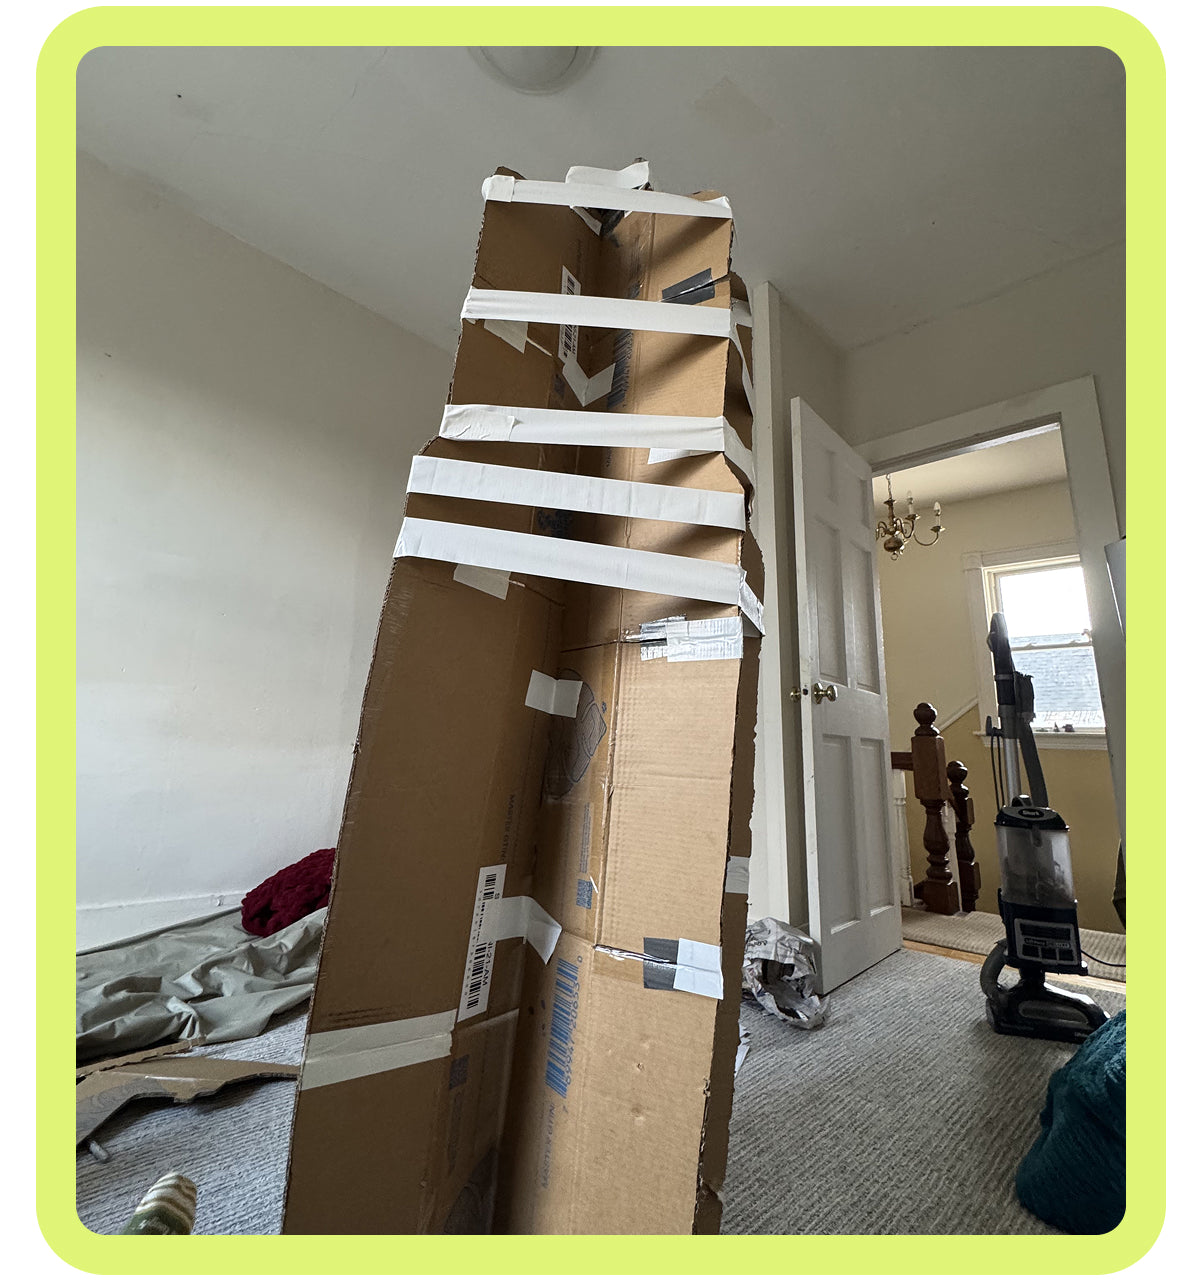
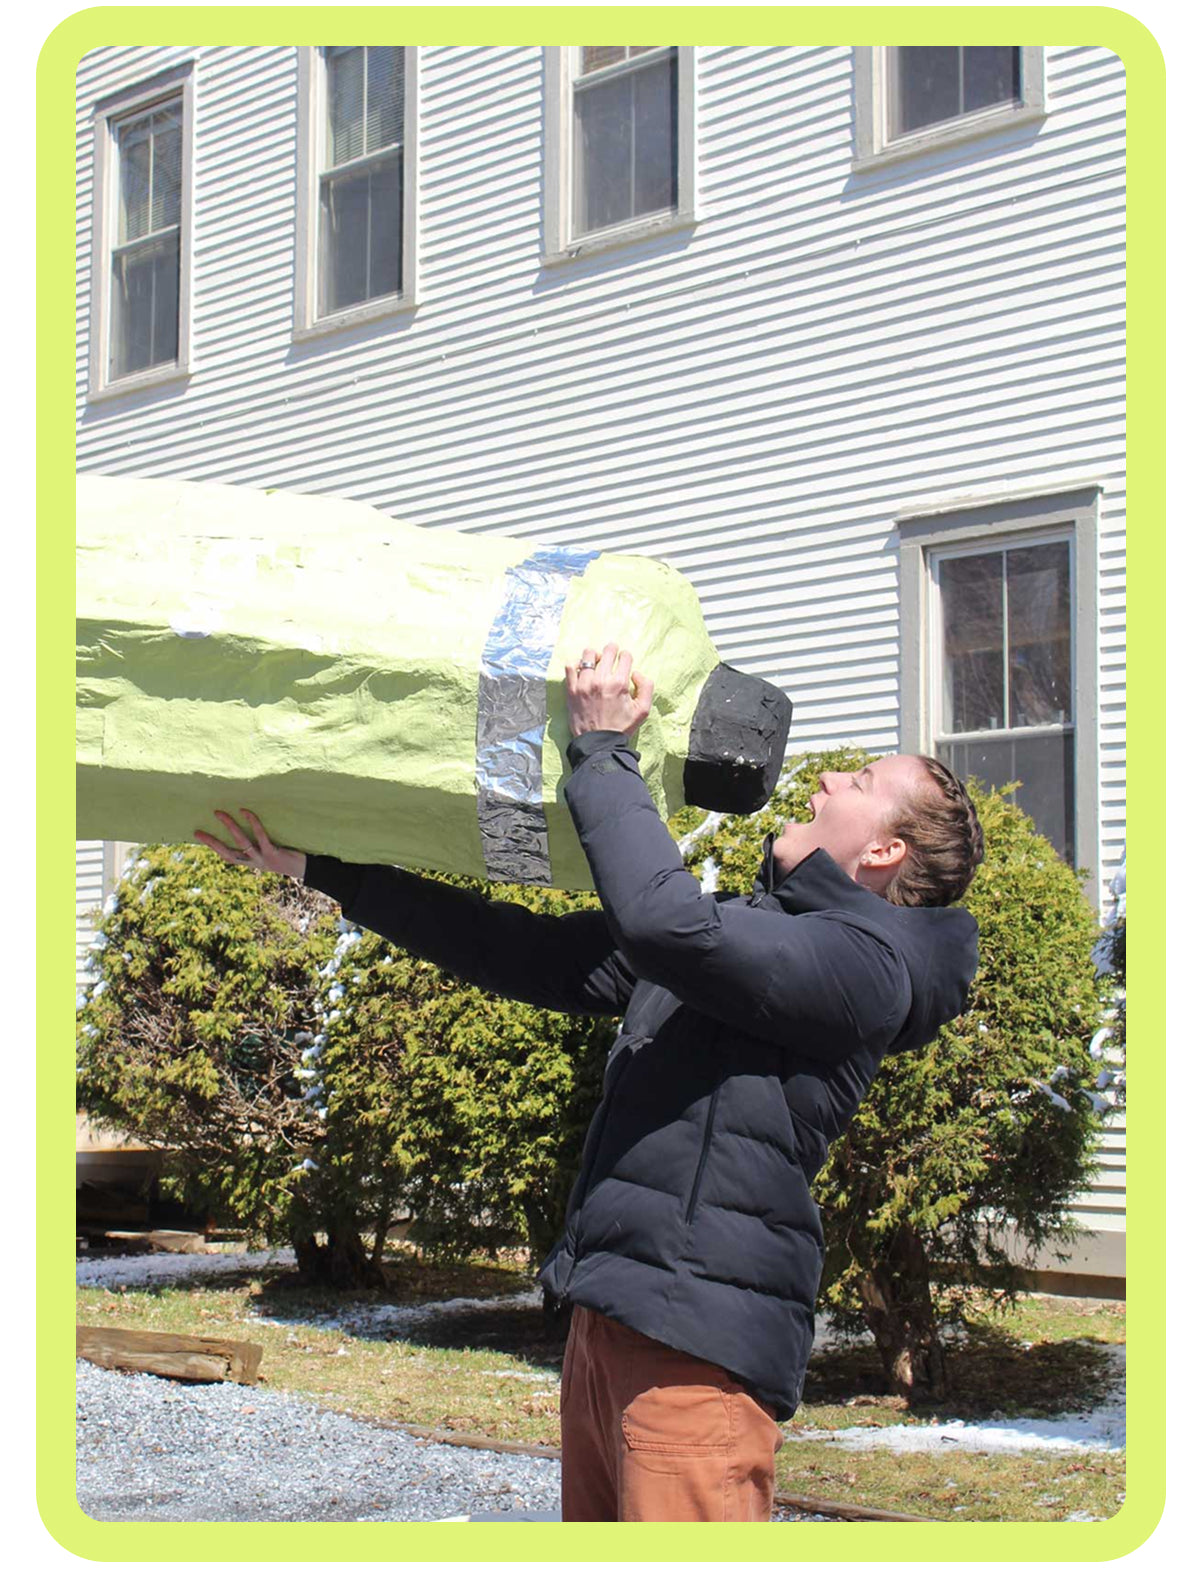
12. Now, use cutout #1 and tape the two halves in-between to create a rounder shape. There will be a clear front that is rounder, leaving the back more square. The back of your Bivo Mega is nobody's business!
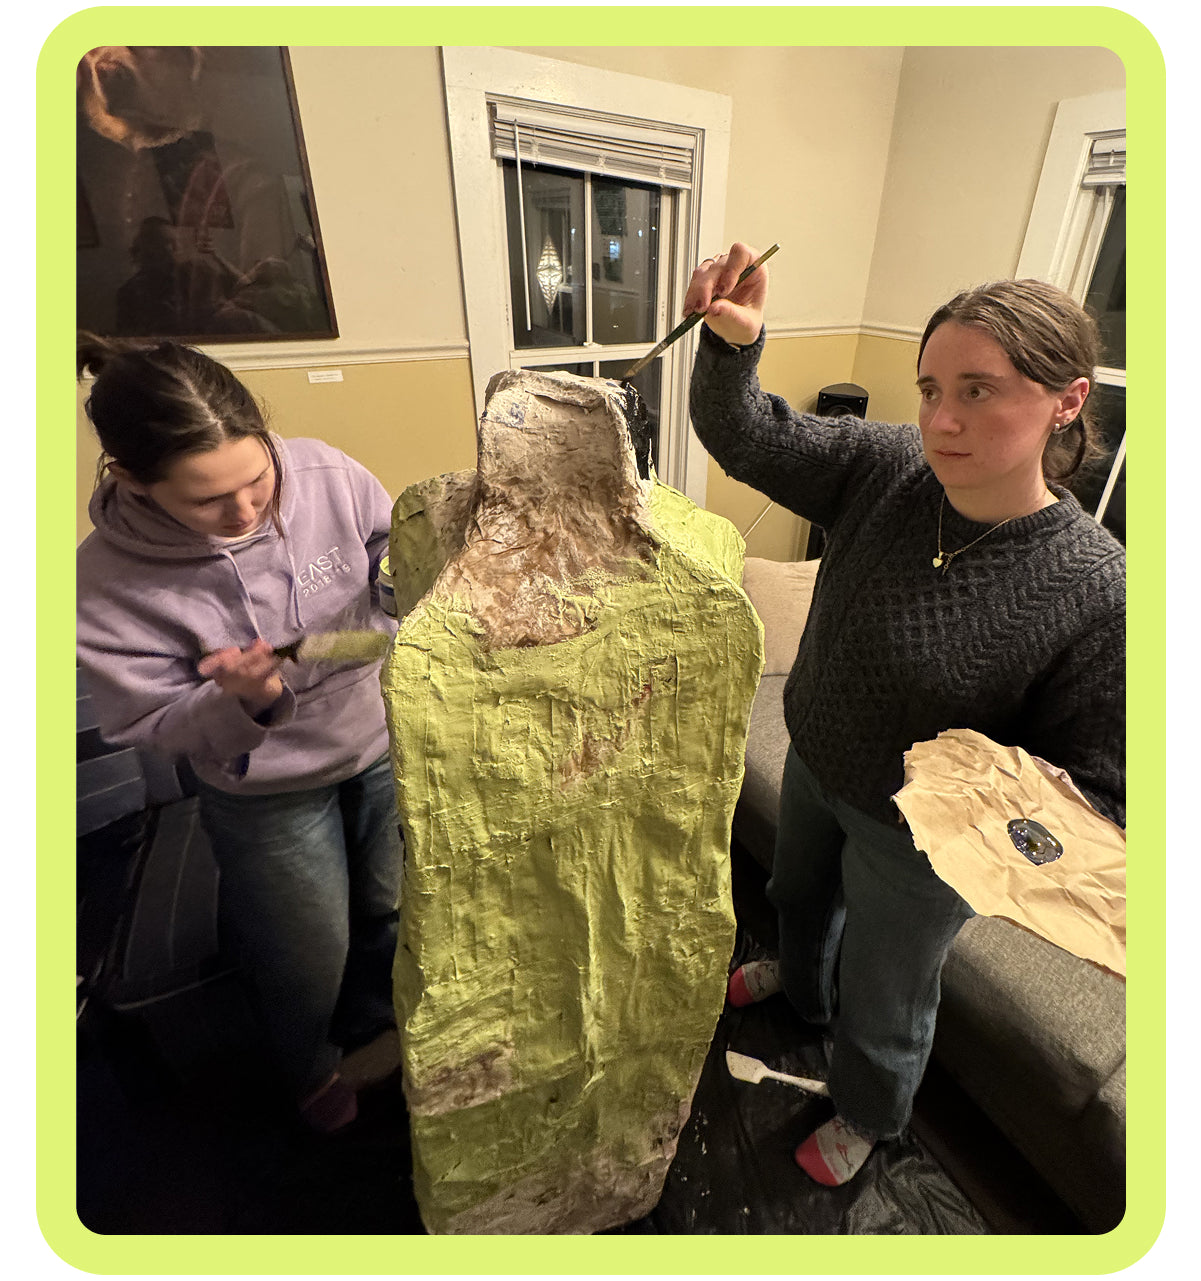
13. Tape around the outside of the Bivo, (like is show in the picture above). Think of these like the 'ribs' of your Bivo that will hold up the outside layer of mache later.
Looking at what you’ve created right now, you might be questioning my ways. I was too, but you have to stick with it and trust the process. I found that at this point in the process, it was very helpful to go outside and take a run to reset and come back to the project with renewed energy and passion.
8. Cutout #1 - Cut one of the cardboard cutouts completely in half (the long way).
9. Cutout #2- Cut a slice from the middle of the bottom upwards that ends halfway up the bottle.
10. Cutout #3 - Cut a slice from the middle of the top downwards that ends halfway down the bottle.
11. Slide cutout #2 and #3 together to create a boxy Bivo (pictured above). Use the tape to keep all the pieces in place and secure.
12. Now, use cutout #1 and tape the two halves in-between to create a rounder shape. There will be a clear front that is rounder, leaving the back more square. The back of your Bivo Mega is nobody's business!
13. Tape around the outside of the Bivo, (like is show in the picture above). Think of these like the 'ribs' of your Bivo that will hold up the outside layer of mache later.
Looking at what you’ve created right now, you might be questioning my ways. I was too, but you have to stick with it and trust the process. I found that at this point in the process, it was very helpful to go outside and take a run to reset and come back to the project with renewed energy and passion.
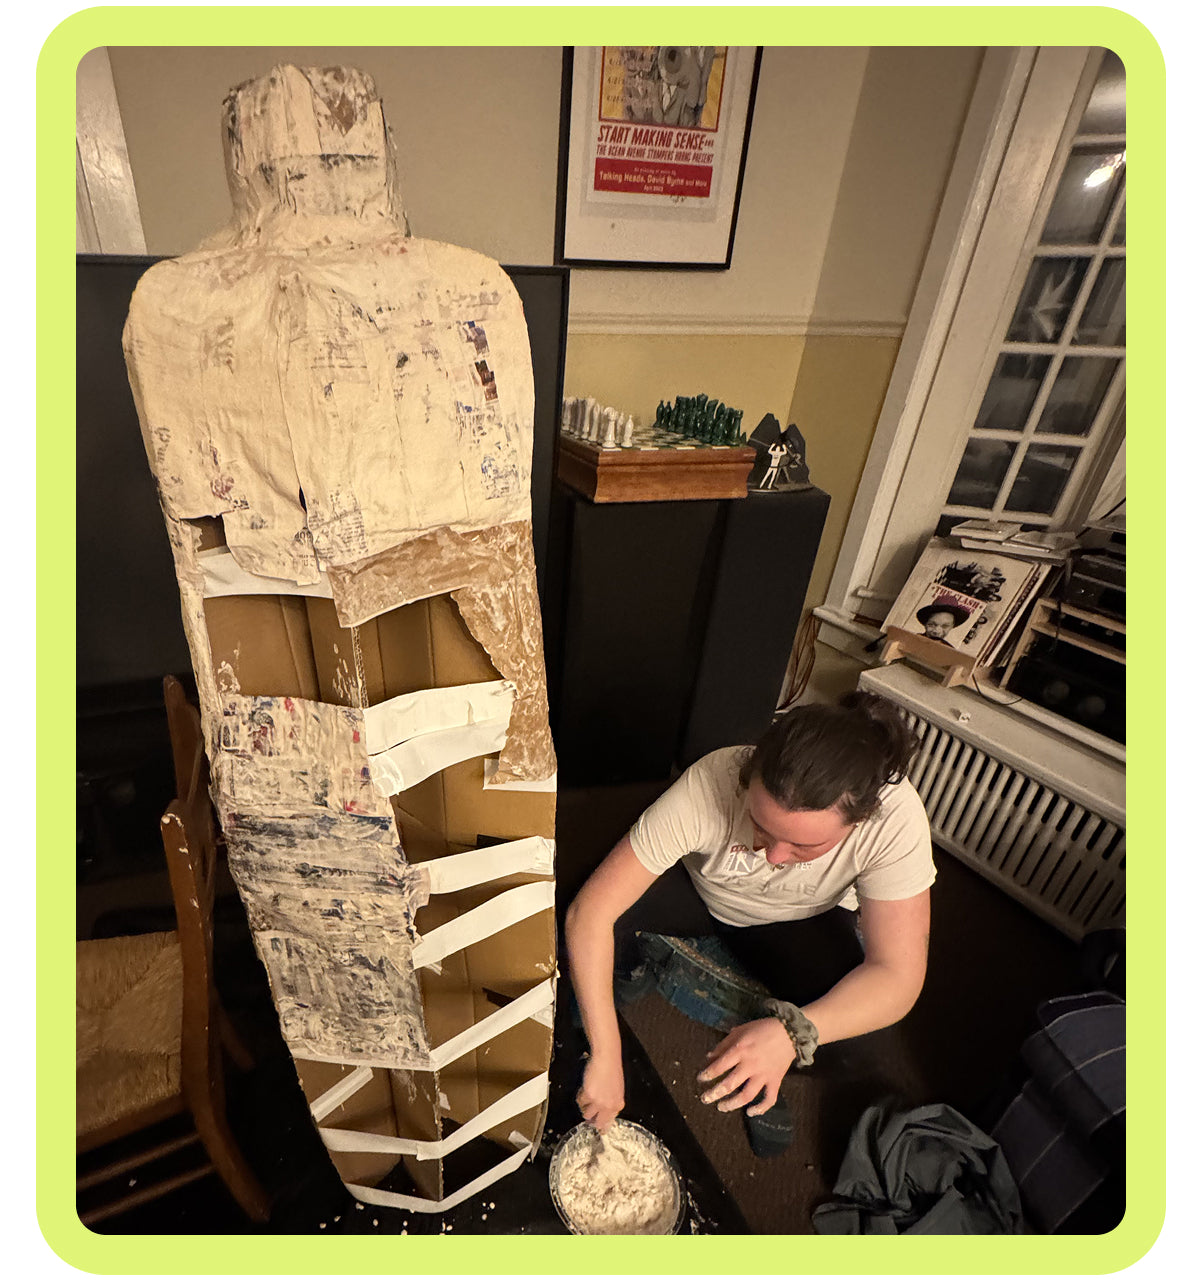


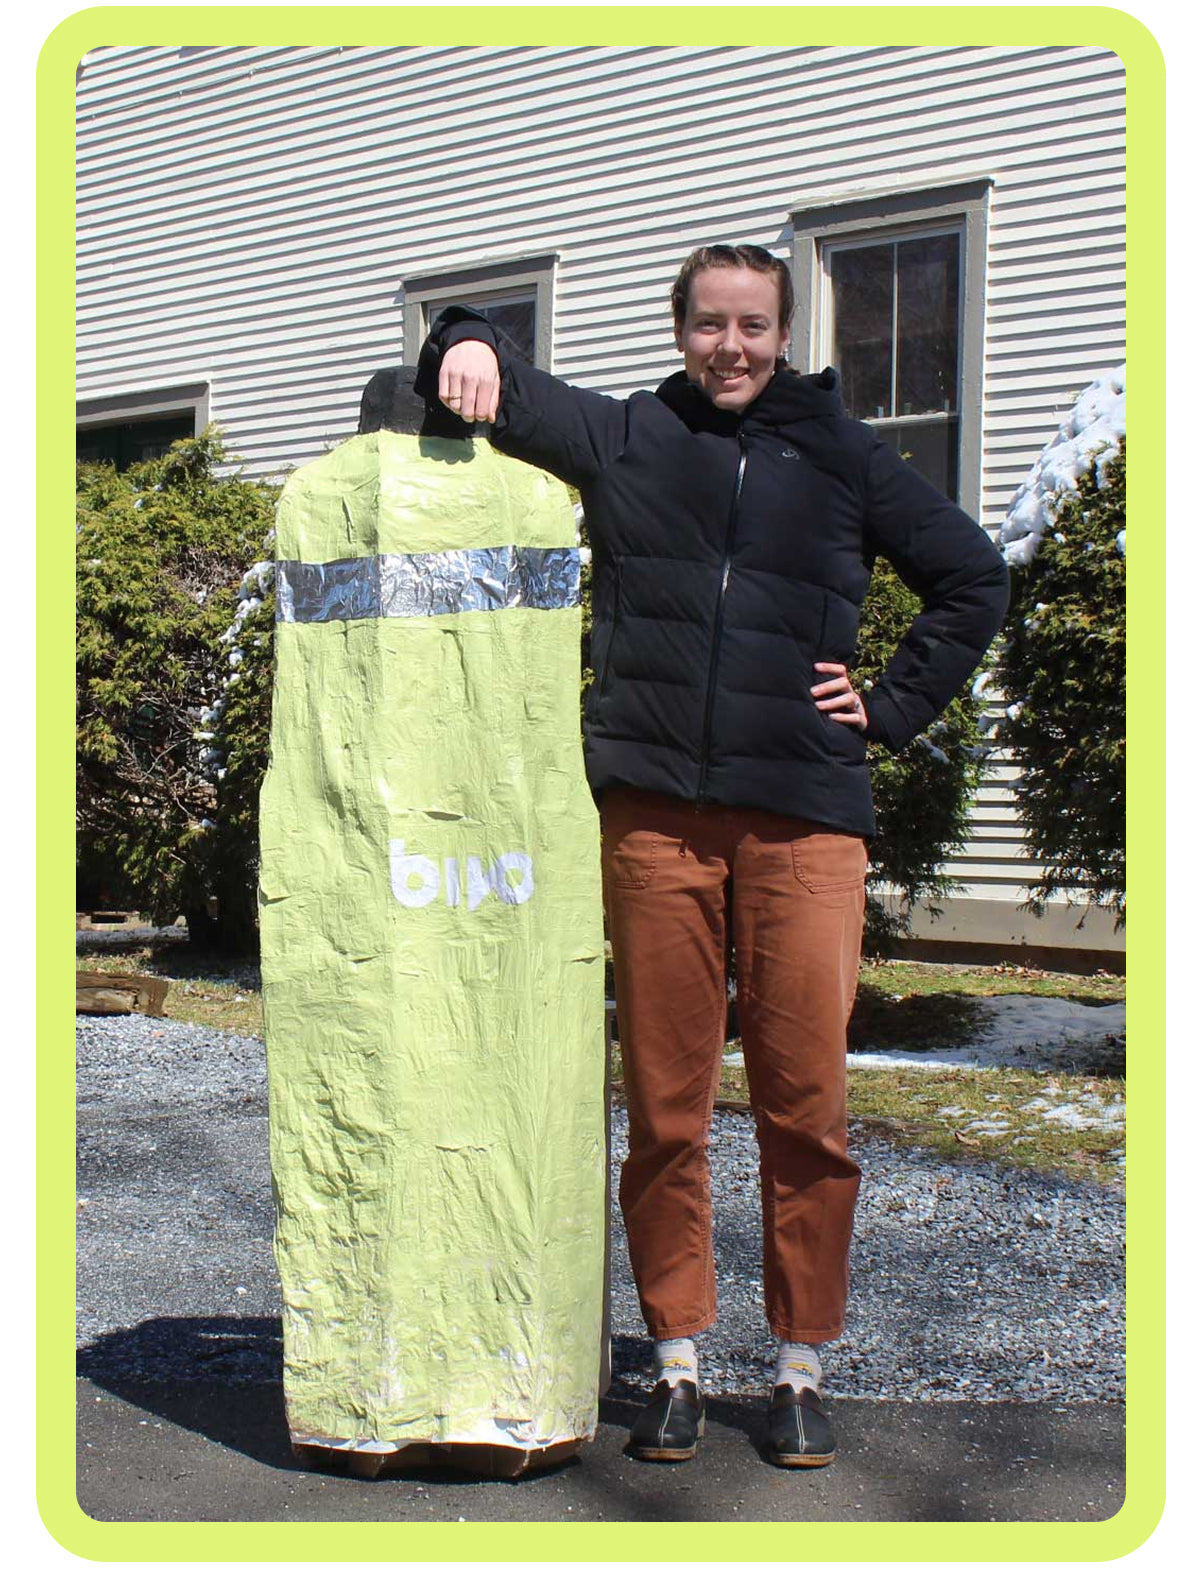
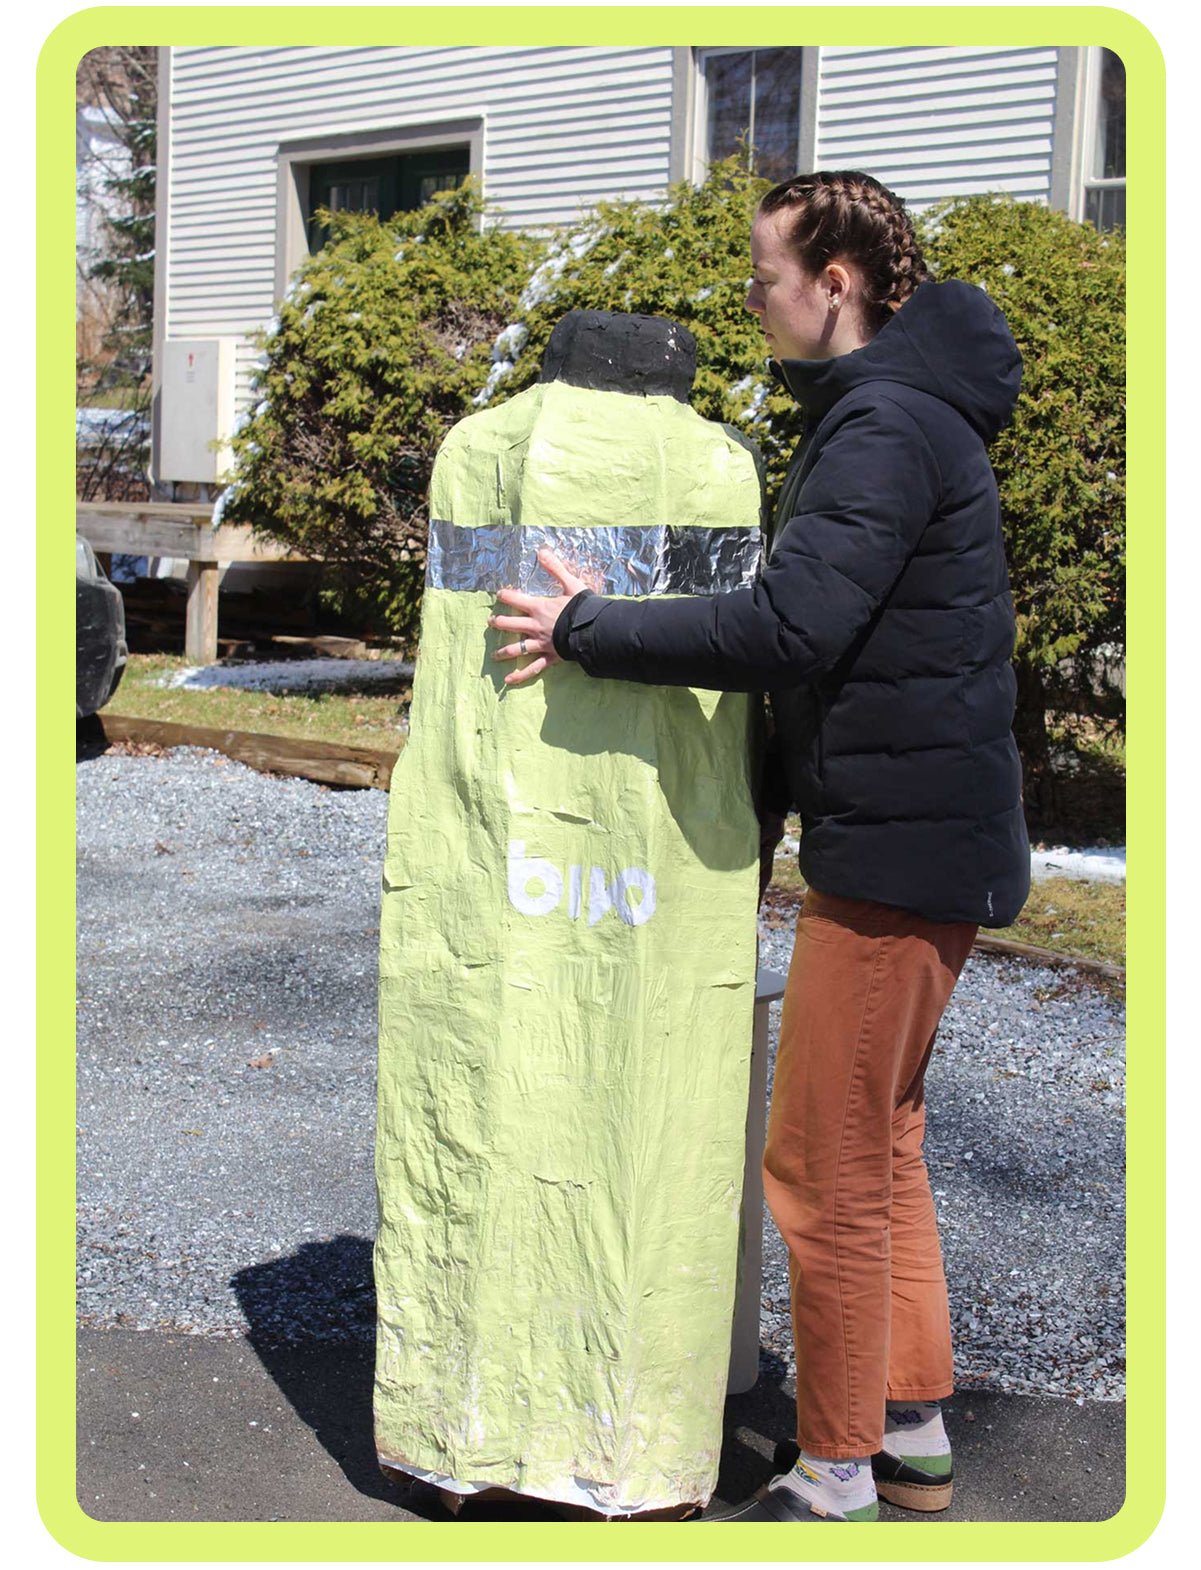
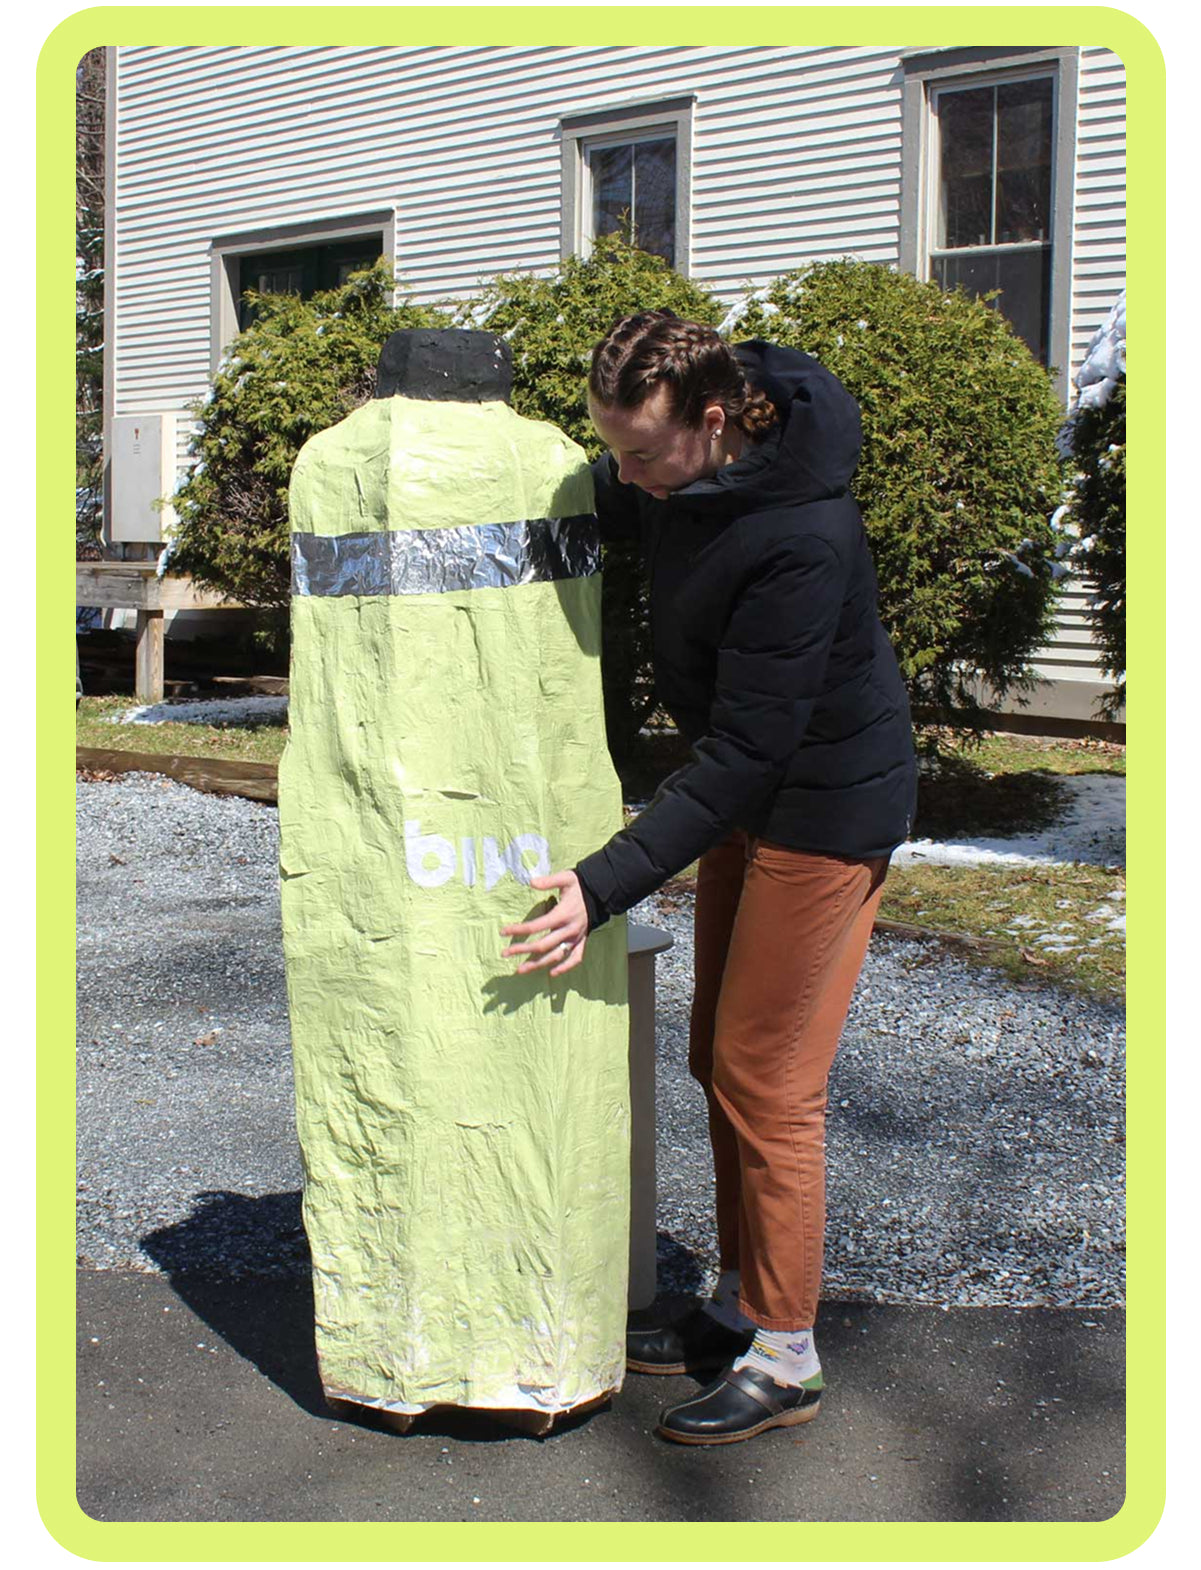
Congratulations, you now have your own 7,200 oz Bivo Mega! We are thinking of using ours as a giant pinata.
Congratulations, you now have your own 7,200 oz Bivo Mega! We are thinking of using ours as a giant pinata.
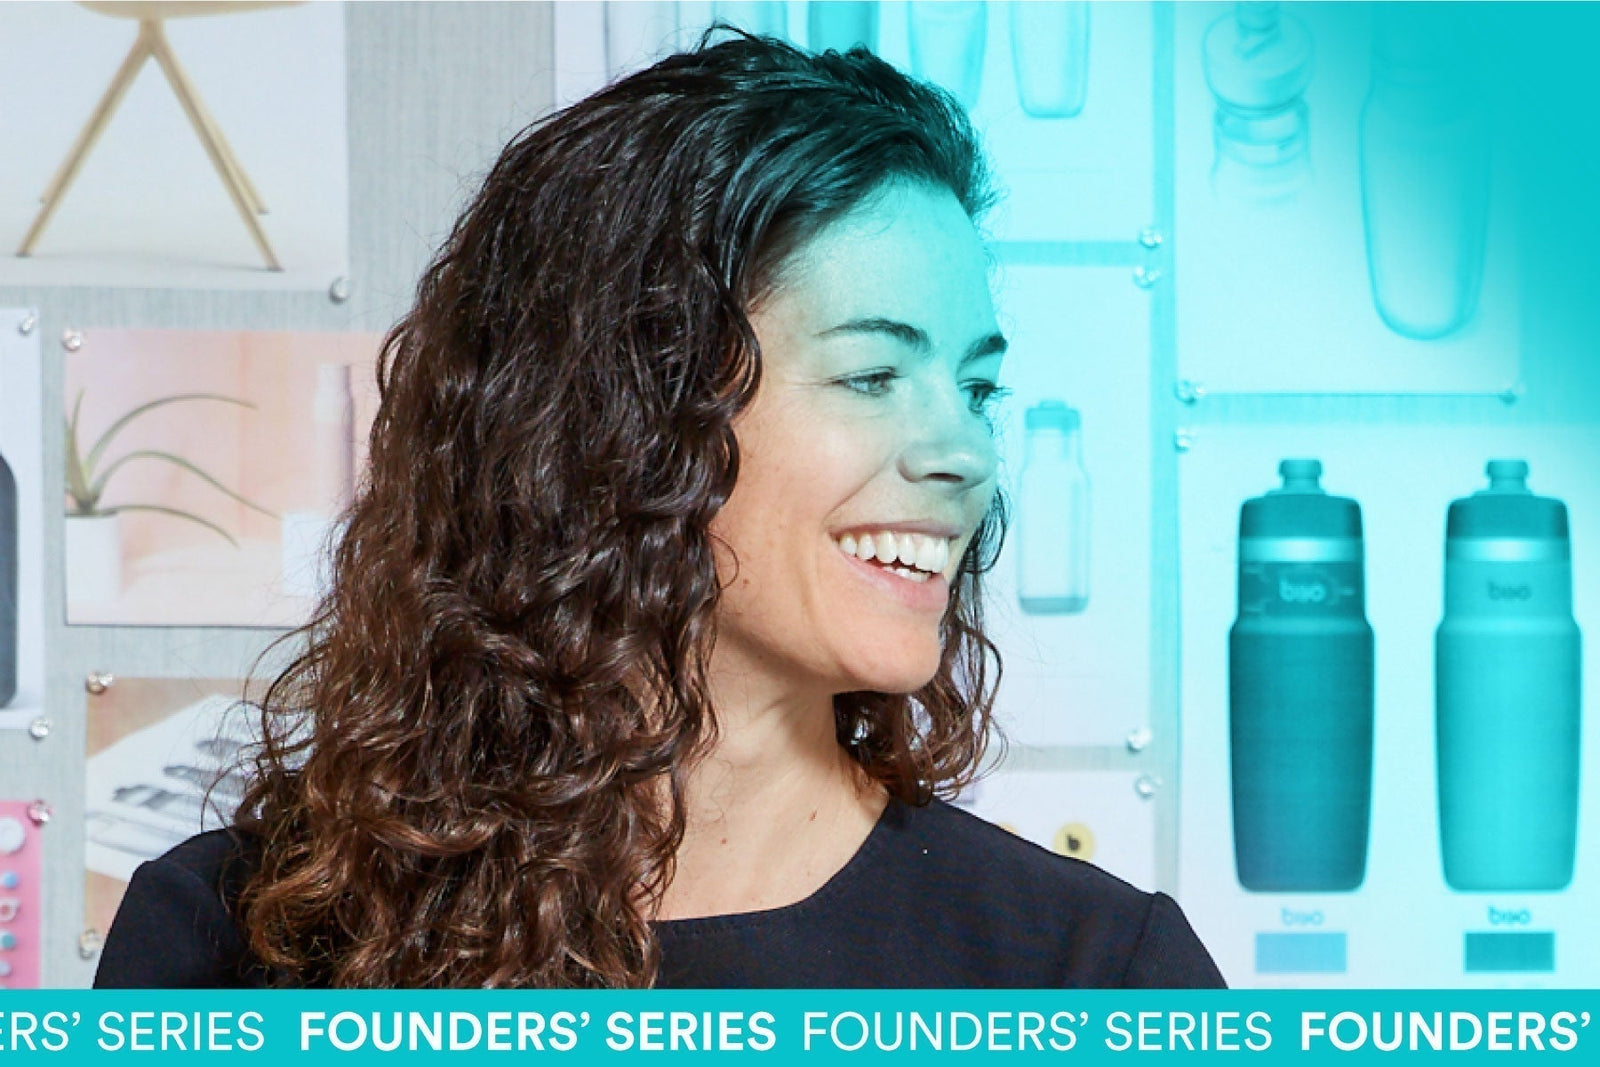

Carina reflects on a recent meeting in France. As Bivo expands into Europe, we're reminded that sustainable growth comes from earning trust one community at a time, not chasing every opportunity.
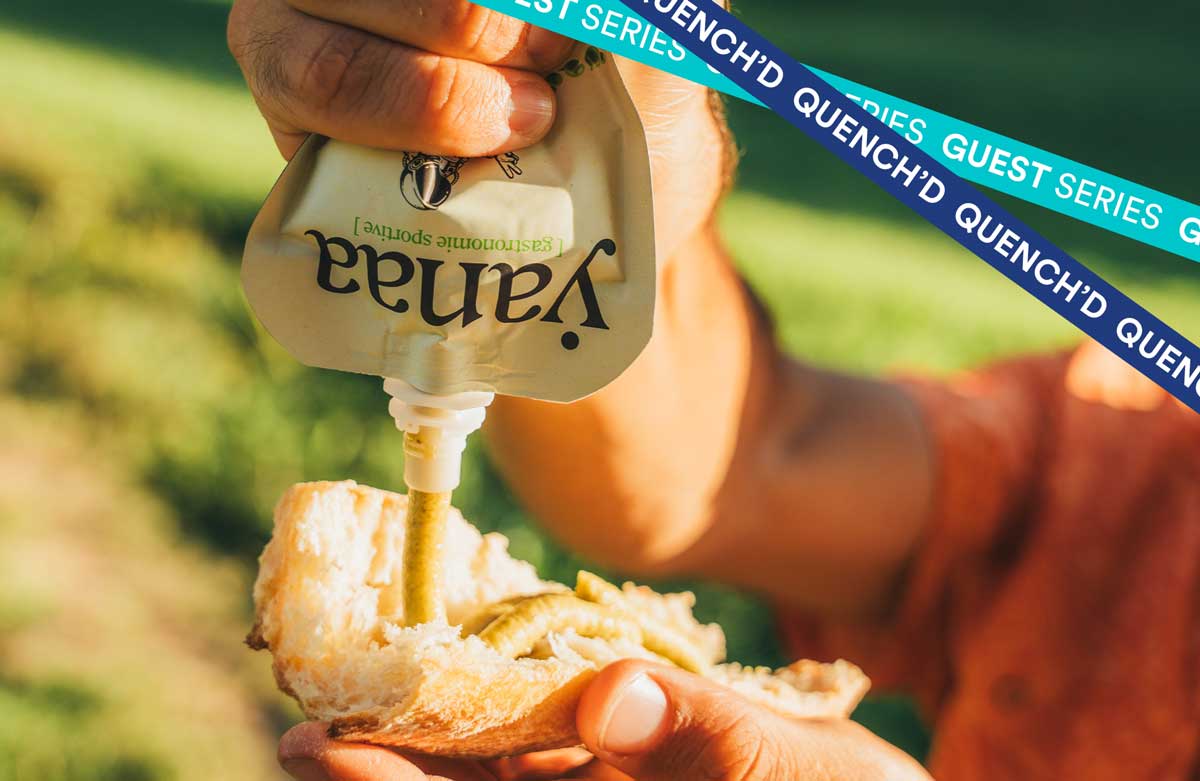

What if the biggest problem with sports nutrition is that it isn't food? Read Chris Bellamy's story behind starting Yanaa and why its mission is to fuel athletes differently.